One of the features of the Wizarding World of Harry Potter at Universal Studios theme park is “Interactive Wands” where you are able to move a special “Interactive Wand” to control various objects around the park. This feature is a lot of fun, and is where the original idea for this project came from. My son requested a Harry Potter themed birthday party for his most recent birthday, which is the event that caused me to actually create this project.
The interactive wand feature at the Wizarding World of Harry Potter seems to work by having IR lights that shine towards you, having that light reflect off your wand tip, and using an IR camera to to track the reflected light / the movement of the wand. This movement data is then processed by something behind the scenes and if that movement data corresponds to the defined spell the action is performed.
My version of this system consists of three parts: The Wand, The IR Light / Camera, and the processing software. I’ll write a post for each part. This one will cover the wand.
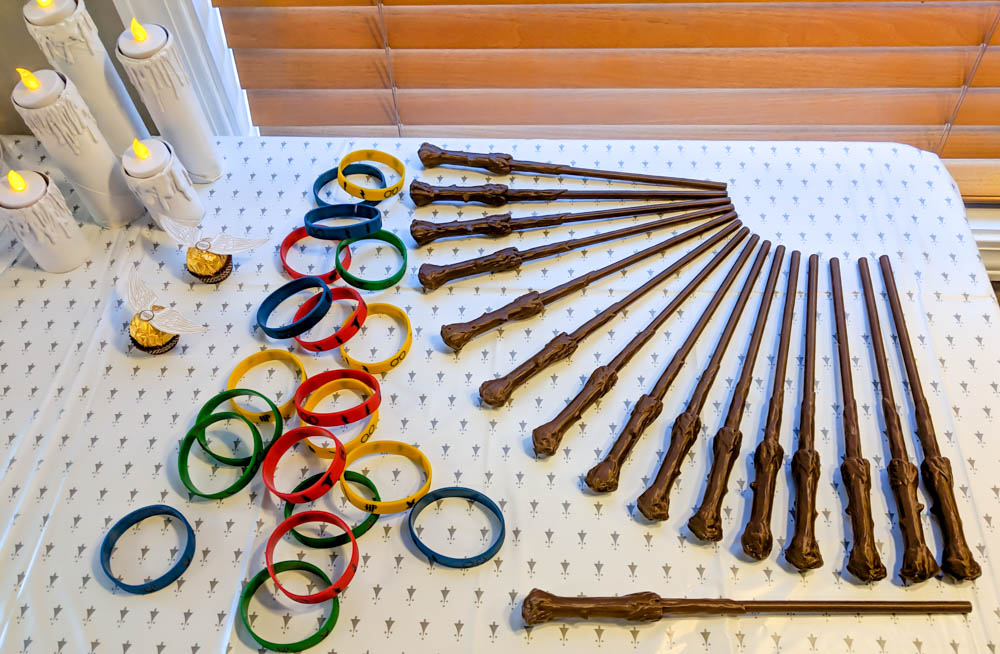
You can actually buy the interactive Harry Potter wands directly from The Universal Store. They look great and will work with my system. However, they are expensive. I wanted to give each of the kids attending the birthday party a wand, so obviously this option wouldn’t work.
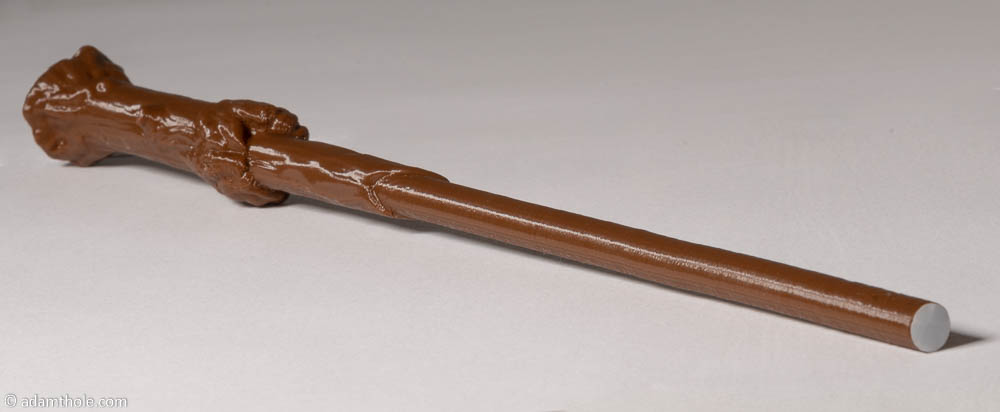
I ended up finding a fantastic STL of Harry’s wand on Thingiverse by user low_seb. I scaled the original model up to 11 inches vertically (to match Harry’s true wand size). For my use I needed a wand a little thicker, so I scaled it to be slightly thicker in the X and Y dimensions than the original model. (I did this this so the next step wouldn’t throw off proportions significantly.) Then I modified the upper shaft in Fusion 360 to match the diameter of a standard hole punch (I used 7.5 mm) and ended the shaft with a flat surface. This was so the reflective surface could easily be hole punched and added to the end of the wand.
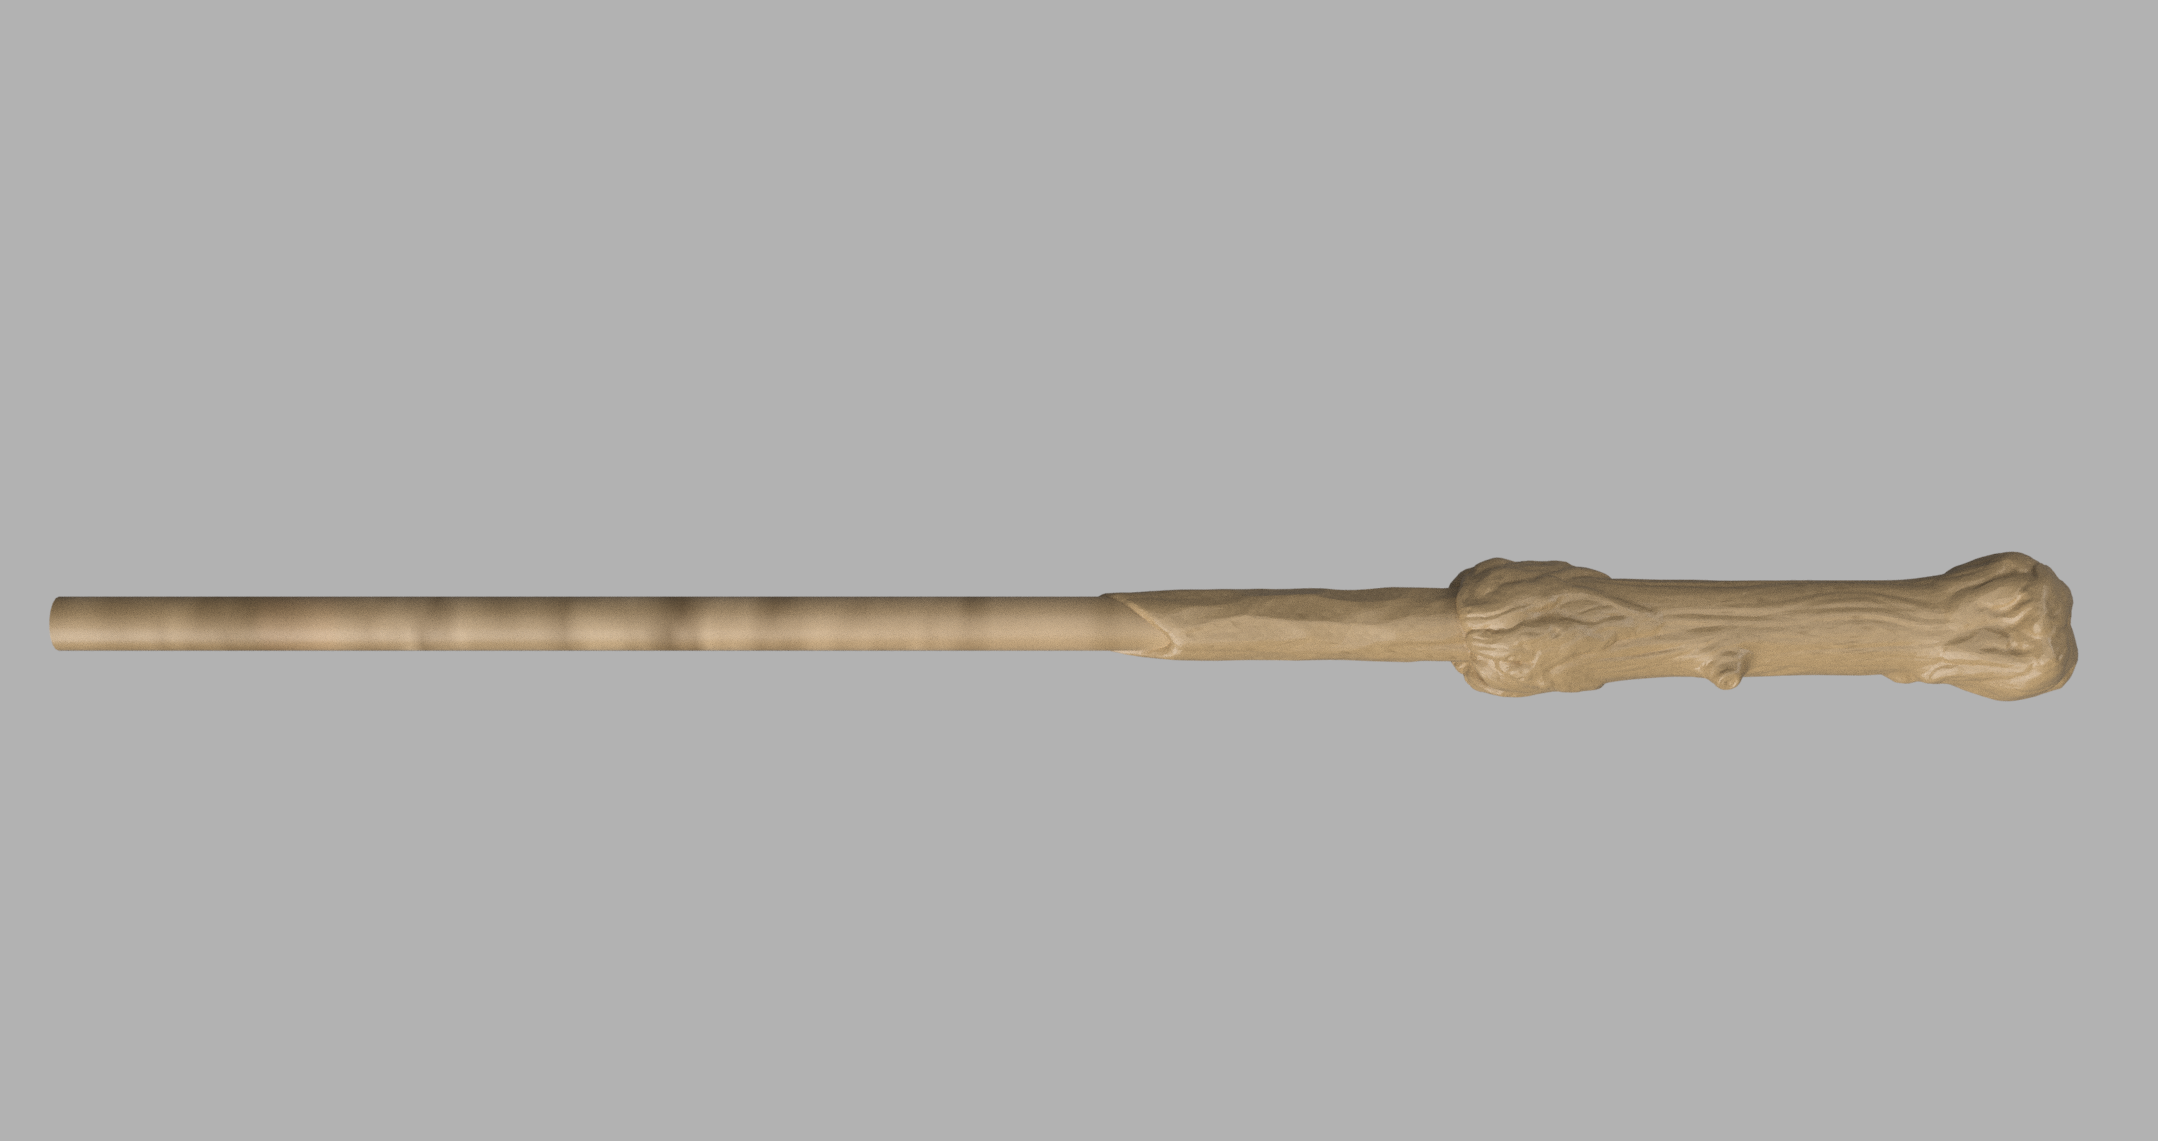
I printed the modified wand vertically on my 3D printer without issue. I’ve published the STL on Thingiverse for you to download here.
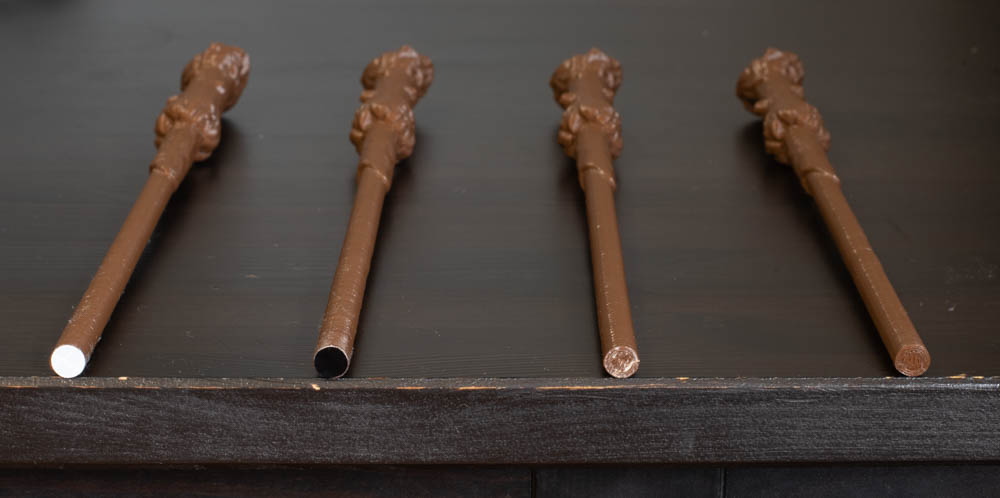
For a reflective surface I tried many different possibilities: reflective paint, IR reflective tape, and white micro prismatic reflective tape. The pictures below show the wands as seen with a regular camera, an IR camera close up, and an IR camera at a distance of around 10 feet.
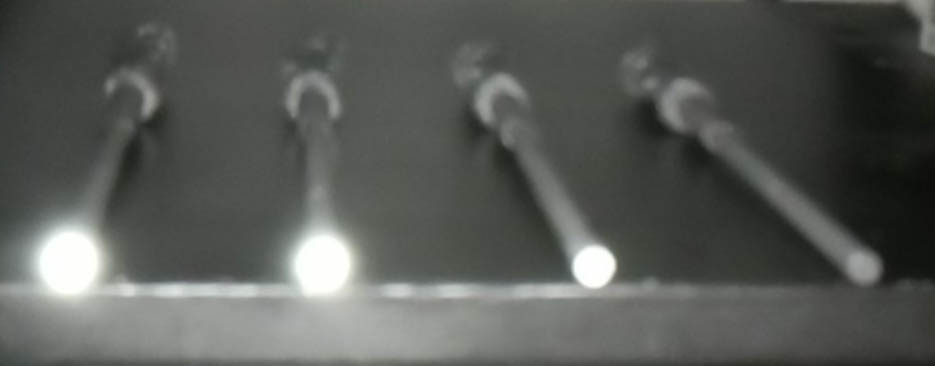
IR Camera (close): Left to Right: white reflective tape, IR reflective tape, reflective paint, and bare end.

IR Camera (10 feet): Left to Right: white reflective tape, IR reflective tape, reflective paint, and bare end.
What ended up working the best was the white reflective tape. The IR reflective tape was unique because it allowed the tip of the wand to be flat black instead of glossy white, but in the end I chose the white reflective tape for it’s superior performance. It was also cheaper, which was an added bonus since everyone at the party got to take home a wand.
In part 2 I discuss the IR light / camera system for this project.
I’m curious about the IR reflective tape used in the photo. I noticed it appears black in color. I have been experimenting using different materials on wands at the Universal park in Orlando, and I’ve had almost zero success. I have ordered the black style IR reflective material but have yet to receive it. I am wondering if you used the same material I have ordered.
Thanks
Hi Dave,
Here is a link to the tape I used: https://www.amazon.com/Tactical-Infrared-Reflective-Adhesive-Sticker/dp/B00OJONP1Y/ My guess is that tape will work at Universal Orlando, while all of the other methods I tried will not. I think they are using an IR camera and a regular camera and if it reflects in both they ignore it, but if it reflects only in the IR they use it. Let me know how your test goes!
Hi Adam,
Why do you think they are using two cameras? I am going to start a similar project so I have been searching around and you are the only one to mention this. I have 2 interactive wands, 1 of them no longer works. I’m waiting on a noir camera and some high index retroreflective powder to arrive in the mail. Then I can investigate into that on my own. Great project by the way and Thank you.
Hi Adam,
That is exactly what I bought! It should finally arrive today and hopefully be tested by the 27th. I’ve seen some videos online of people using reflective tape and reflective material from a safety vest, and they claimed it worked, and worked better when covered by sunglasses. I was only able to get the retro reflective material (safety vest) to work on one or two of the spell casting areas. I will definitely post an update.
Thanks for the reply and advice as well!
Well, it didn’t work 🙁
I think maybe the size of the tip of the wand may be too small, although it is about the same size of the wands they sell at the parks. I plan to try a bigger diameter size to see if it will work.
Interesting! Thanks for giving it a shot and getting back with us. If you ever figure out why, please let us know!
Hey Dave, any update on your latest test with the larger diameter of reflective tape? Did it prove any more successful?
Yes sorry, been extremely busy. The bigger diameter also did not work 🙁
Thanks for the update!
Did you ever find an answer to this. I want to make some custom wands and want to make them interactive and also work at Universal.
These look like they would be perfect, but they are way too small.
https://www.cospheric.com/P2453_solid_glass_spheres_retroreflective.htm
They are used as an additave to paint, but if they made them as large as 4mm they might be perfect.
More info on the IR reflectiveness.
http://microspheres.us/coatings/high-index-refraction-retroreflective-glass-microspheres/435.html
Or, just find out where in china the wands are made. Then email the supplier and buy from them or get them to tell you where they get their tips from.
Hey Adam,
I love your project and I’ve been looking for an excuse to purchase a 3D printer. What 3D printer do you have or would you recommend? Thanks!