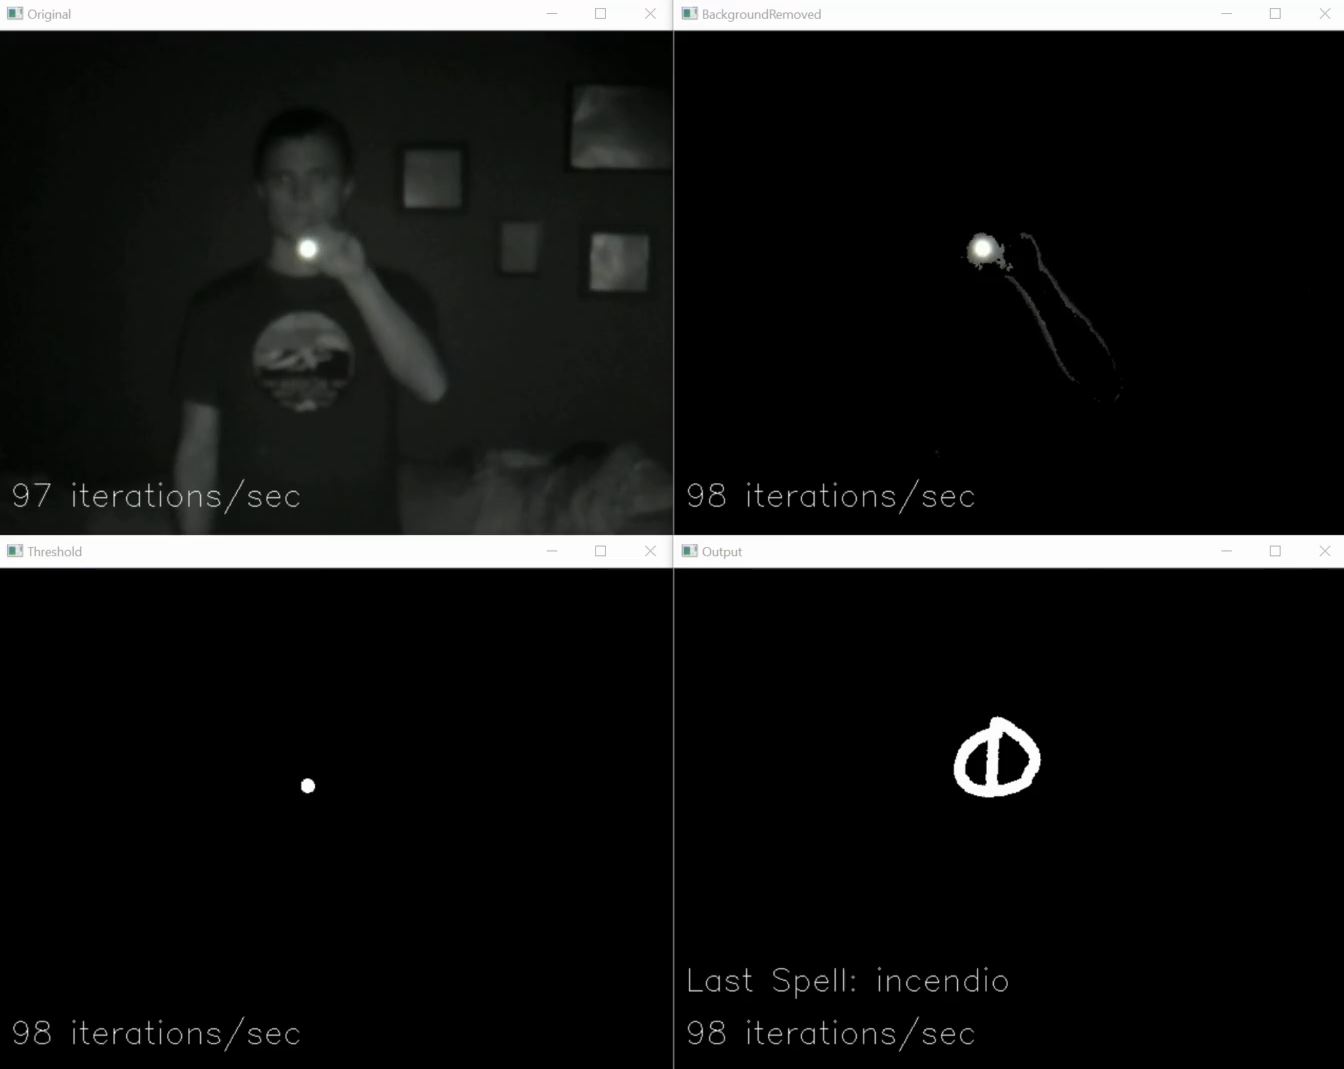
In this video I show the end result of my "Smart Wand" project. Originally inspired by the interactive wands from Universal's Wizarding World of Harry Potter, this project lets you control your smart home devices by moving your wand in a pattern corresponding to the desired spell.
While originally inspired by a trip to Universal, I actually put in the effort of creating it for my son's Harry Potter themed birthday party (hence the secret message in the video). For the birthday party we had two wand stations working where the kids cast various spells to perform magic such as playing a song, changing the lights, turning on a fountain, and popping popcorn.
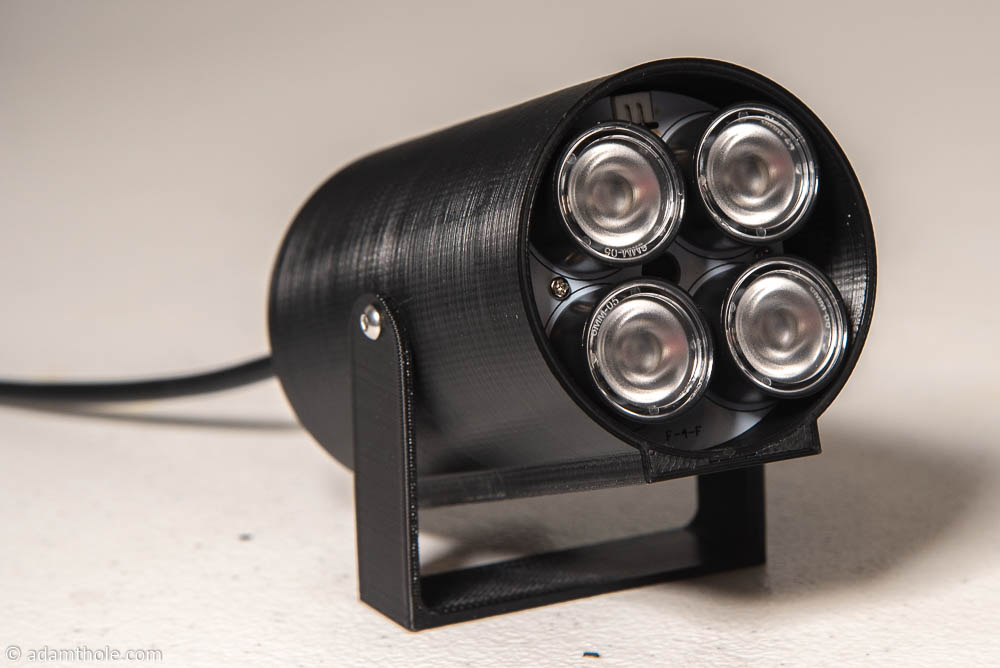
The project uses various types of fun technology including: 3D printing, Raspberry Pi Zero W, Raspberry Pi NoIR Camera, Home Assistant, and Python.
I have the full details of the project including source code, STLs for 3D printing, and detailed instructions. The details are split into three different posts: